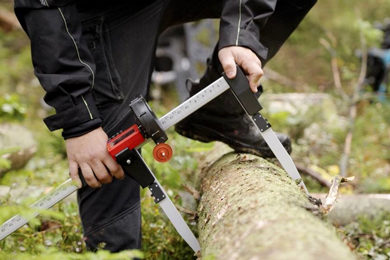
The calibration of the diameter and length measuring is improved, using a new method to secure better statistical data and reduce the risk for human error. Another new feature is the integrated analysis function for visualisation of the control measurement result.
An important prerequisite for a good calibration result is that the calibration basis is as good as possible. The new system ensures that a suitable number of stems are used as statistic base for each calibration, which increases the precision of the calibration. The default setting is for the calibration to be performed on ten stems, but it is possible to adjust according to the customer’s own needs (please note that one tree is measured every time, but the system uses data from the last ten calibrations).
When a new tree is added, the oldest tree will automatically be excluded from the data collected. In order to ensure the quality of the machine measurement, MaxiXT will filter and select trees where the head had good clamping of the trunk during the processing, meaning that they are suitable for calibration.
With the new system, diameter calibration is done in diameter intervals. This makes it possible to calibrate only the intervals where there are deviations and where enough measurement data is available. The documentation remains after the calibration has been performed and the graphics show how the active calibration would have measured on these stems. All in all, these improvements contribute to minimizing the risk of errors when calibrating.
Another new feature of the new calibration system is that length and diameter calibration can easily be copied between tree types.
In addition to the improved calibration method, the visualisation of the results has been improved. The system provides a visual analysis of the stem profile where all measuring points are displayed and categorised according to colour codes. The system also clearly visualises the measurement errors between the machine and the data caliper.
The basic calibration is done in the same way as before, with a measuring pipes.
To read other Komatsu related posts click here.


